Rozanne Hawksley
Menu
Skip to content
Home
About Rozanne
Work
Biography
More Information
Contact Rozanne
Category Archives:
Work
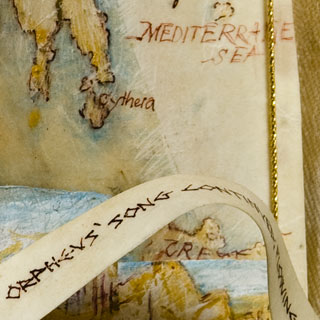
The Seamstress and the Sea
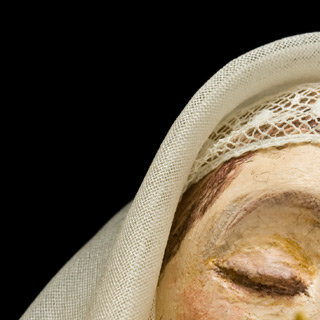
Madonnas
Leave a reply
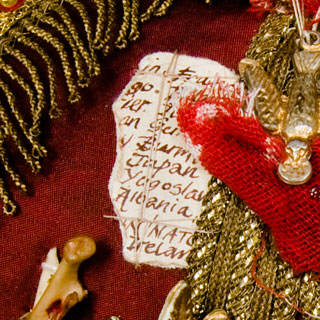
War
Leave a reply
Souls
Leave a reply
The Foundling
Leave a reply
Mirrors and Fans
Leave a reply
Gloves
Leave a reply
The Bishop’s Mitre
Leave a reply
From the Sketchbooks
Leave a reply
Myth, Death and Religion
Leave a reply
Unclassified
Leave a reply


 for Seamstress and the Sea 2006")


")


")


")

")
")


")


")

")


 begun 1987 completed 1989 (detail)")


")